


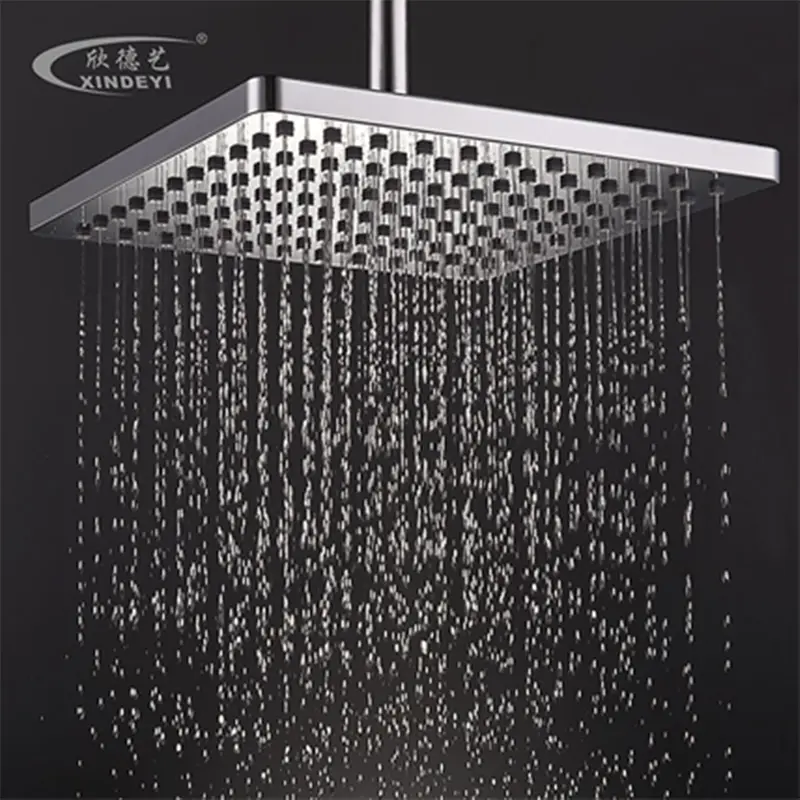


How do I clean my premium adjustable shower head?
I know you love your premium adjustable shower head. It makes my showers so much better! But sometimes, mineral buildup and soap scum can make it less amazing. I want to help you keep your best premium adjustable shower head working perfectly. We will learn how to clean it by soaking it in vinegar or a special solution. Then we will scrub and rinse it. This keeps your adjustable shower head clean and working well. It also ensures good hygiene. Even if you are a Top 10 premium adjustable shower head supplier, regular cleaning is key for quality.
Key Takeaways
- Clean your Shower Head often to stop mineral buildup and keepgood water pressure.
- Use white vinegar to clean your shower head. You can soak it in a bag or a bowl.
- Scrub the nozzles with an old toothbrush after soaking to remove dirt.
- Flush the shower head with water after cleaning to remove all loose bits.
- Clean your shower head weekly for quick care and monthly for a deeper clean.
Why Clean Your Premium Adjustable Shower Head?
I know you love a great shower experience. I certainly do! Cleaning your premium adjustable shower head might seem like a chore, but it's super important. It keeps your shower working its best and keeps you healthy. Let me tell you why I think it's so crucial.
Prevent Mineral Buildup and Clogging
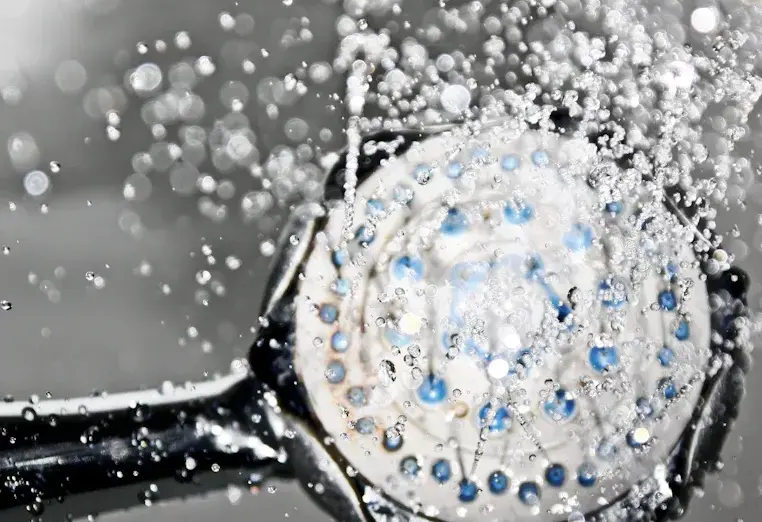
Have you ever noticed white crusty stuff on your shower head? That's mineral buildup. Our tap water often has dissolved minerals like calcium carbonate. These minerals, including calcium, magnesium, lime, and silica, love to stick around, especially in hot water fixtures. Over time, they solidify and build up inside and around the nozzles of your shower head. This buildup can block the tiny holes where the water comes out. I find that a clogged shower head just doesn't feel right.
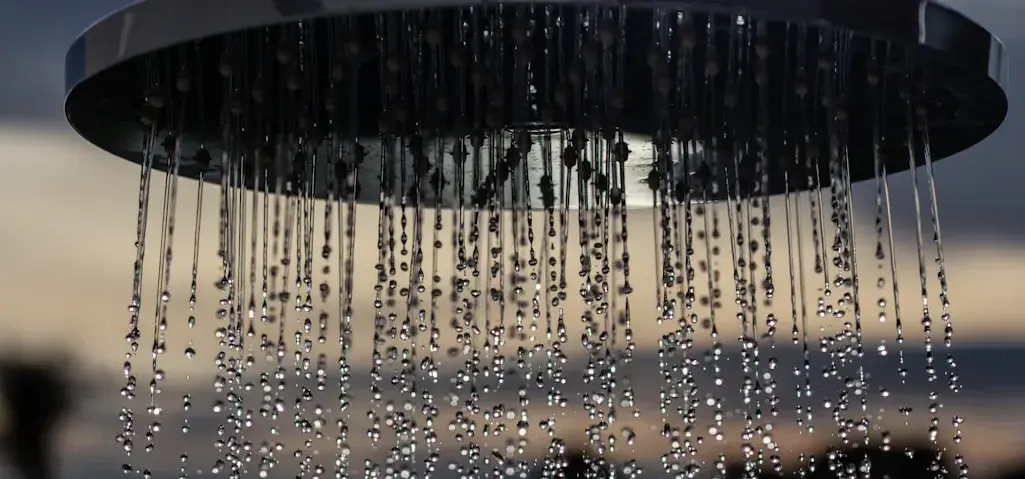
Maintain Optimal Water Pressure
When those mineral deposits clog the nozzles, what happens? Your water pressure drops! I've experienced this myself. Mineral deposits from hard water can really reduce the water flow and pressure in my shower. It's like trying to drink through a straw that's half-blocked. The water can't get through easily. Regular cleaning helps prevent this clogging. It means the water's path stays clear, and I get that strong, satisfying spray I expect from my premium adjustable shower head.
Ensure Hygiene and Health
A dirty shower head isn't just about bad water pressure; it can also be a health concern. I think about all the moisture and warmth in a shower head. It's a perfect place for germs to grow. Things like Salmonella, E.Coli, Legionella, and even black mould can thrive in there. When I turn on the shower, these tiny particles can spray into the air. I definitely don't want to breathe that in or have it on my skin. Cleaning my shower head regularly gives me peace of mind. I know I'm stepping into a clean, healthy environment every time I shower.
Extend the Lifespan of Your Shower Head
I want my shower head to last a long time. I'm sure you do too! Cleaning it regularly really helps. Think about it: those mineral deposits and soap scum aren't just ugly. They can actually cause damage over time.
Here's how cleaning helps your shower head live longer:
- Prevents Internal Wear and Tear: The minerals in hard water are abrasive. They can scratch and wear down the delicate internal parts of your shower head. This is especially true for a premium adjustable shower head with its moving spray settings. If these parts get gritty, they don't move smoothly. They might even break.
- Reduces Strain on Components: When nozzles get clogged, water has to push harder to get out. This puts extra stress on the seals and internal mechanisms. I know I don't want my shower head working harder than it needs to! This constant strain can lead to leaks or even complete failure much sooner than expected.
- Keeps Moving Parts Free:Many Adjustable Shower Heads have little levers or rings to change the spray pattern. Mineral buildup can seize these parts up. I've seen it happen. When they get stuck, you might force them, and that can break them. Regular cleaning keeps everything moving freely and smoothly.
By taking a little time to clean your shower head, you're protecting your investment. You won't have to buy a new one as often. I think that's a smart move for anyone! It means more years of great showers without the hassle of replacing parts or the whole unit.
Essential Tools for Cleaning Your Premium Adjustable Shower Head
I know you want to keep your premium adjustable shower head sparkling clean. Having the right tools makes this job much easier. I always gather everything I need before I start. This way, I don't have to stop halfway through. Let me share what I use.
Natural Cleaning Solutions
I often reach for natural solutions first. They are usually safe and effective. My go-to is distilled white vinegar. It's amazing for breaking down mineral buildup. For effective shower head cleaning, I use distilled white vinegar with a consistent 5% acetic acid concentration. This specific acidity level is perfect for dissolving mineral deposits and limescale. It won't cause damage or staining, unlike other vinegars that might have inconsistent acidity or darker colors. I also keep baking soda handy. It's great for making a paste to tackle tougher spots.
Commercial Cleaning Solutions
Sometimes, I face really stubborn buildup. That's when I consider commercial cleaning solutions. They are designed for tough jobs. I've learned that many of these products have strong ingredients. For example, some commercial shower head descalers, like ShowerSperse / AT-2513, contain sulphamic acid and benzalkonium chloride. Another one, Shower Head Cleaner Plus, uses an acid base and a special biocide. I always read the labels carefully and follow the instructions when I use these. Safety first!
Necessary Cleaning Tools
Beyond the cleaning solutions, I have a few simple tools that help me get the job done right. I find these items make a big difference.
- Soft-bristled toothbrush: This is my secret weapon for scrubbing shower head nozzles after they've had a good soak. It gets into all the tiny spaces.
- Old toothbrush: I keep an old toothbrush specifically for scrubbing during the soaking process. It's also great for cleaning the threads on the Shower Arm.
- Toothpick: When I see a single blocked hole, a toothpick is perfect for clearing it out.
- Microfiber cloth: I use this for wiping down surfaces and polishing.
- Plastic bag and rubber band: These are essential for soaking a fixed shower head.
Having these tools ready makes cleaning my shower head a breeze.
Step-by-Step Cleaning for a Removable Premium Adjustable Shower Head
I find cleaning my shower head much easier when I can take it off. If you have a removable premium adjustable shower head, this is the best way to get it really clean. I'll walk you through the steps I follow.
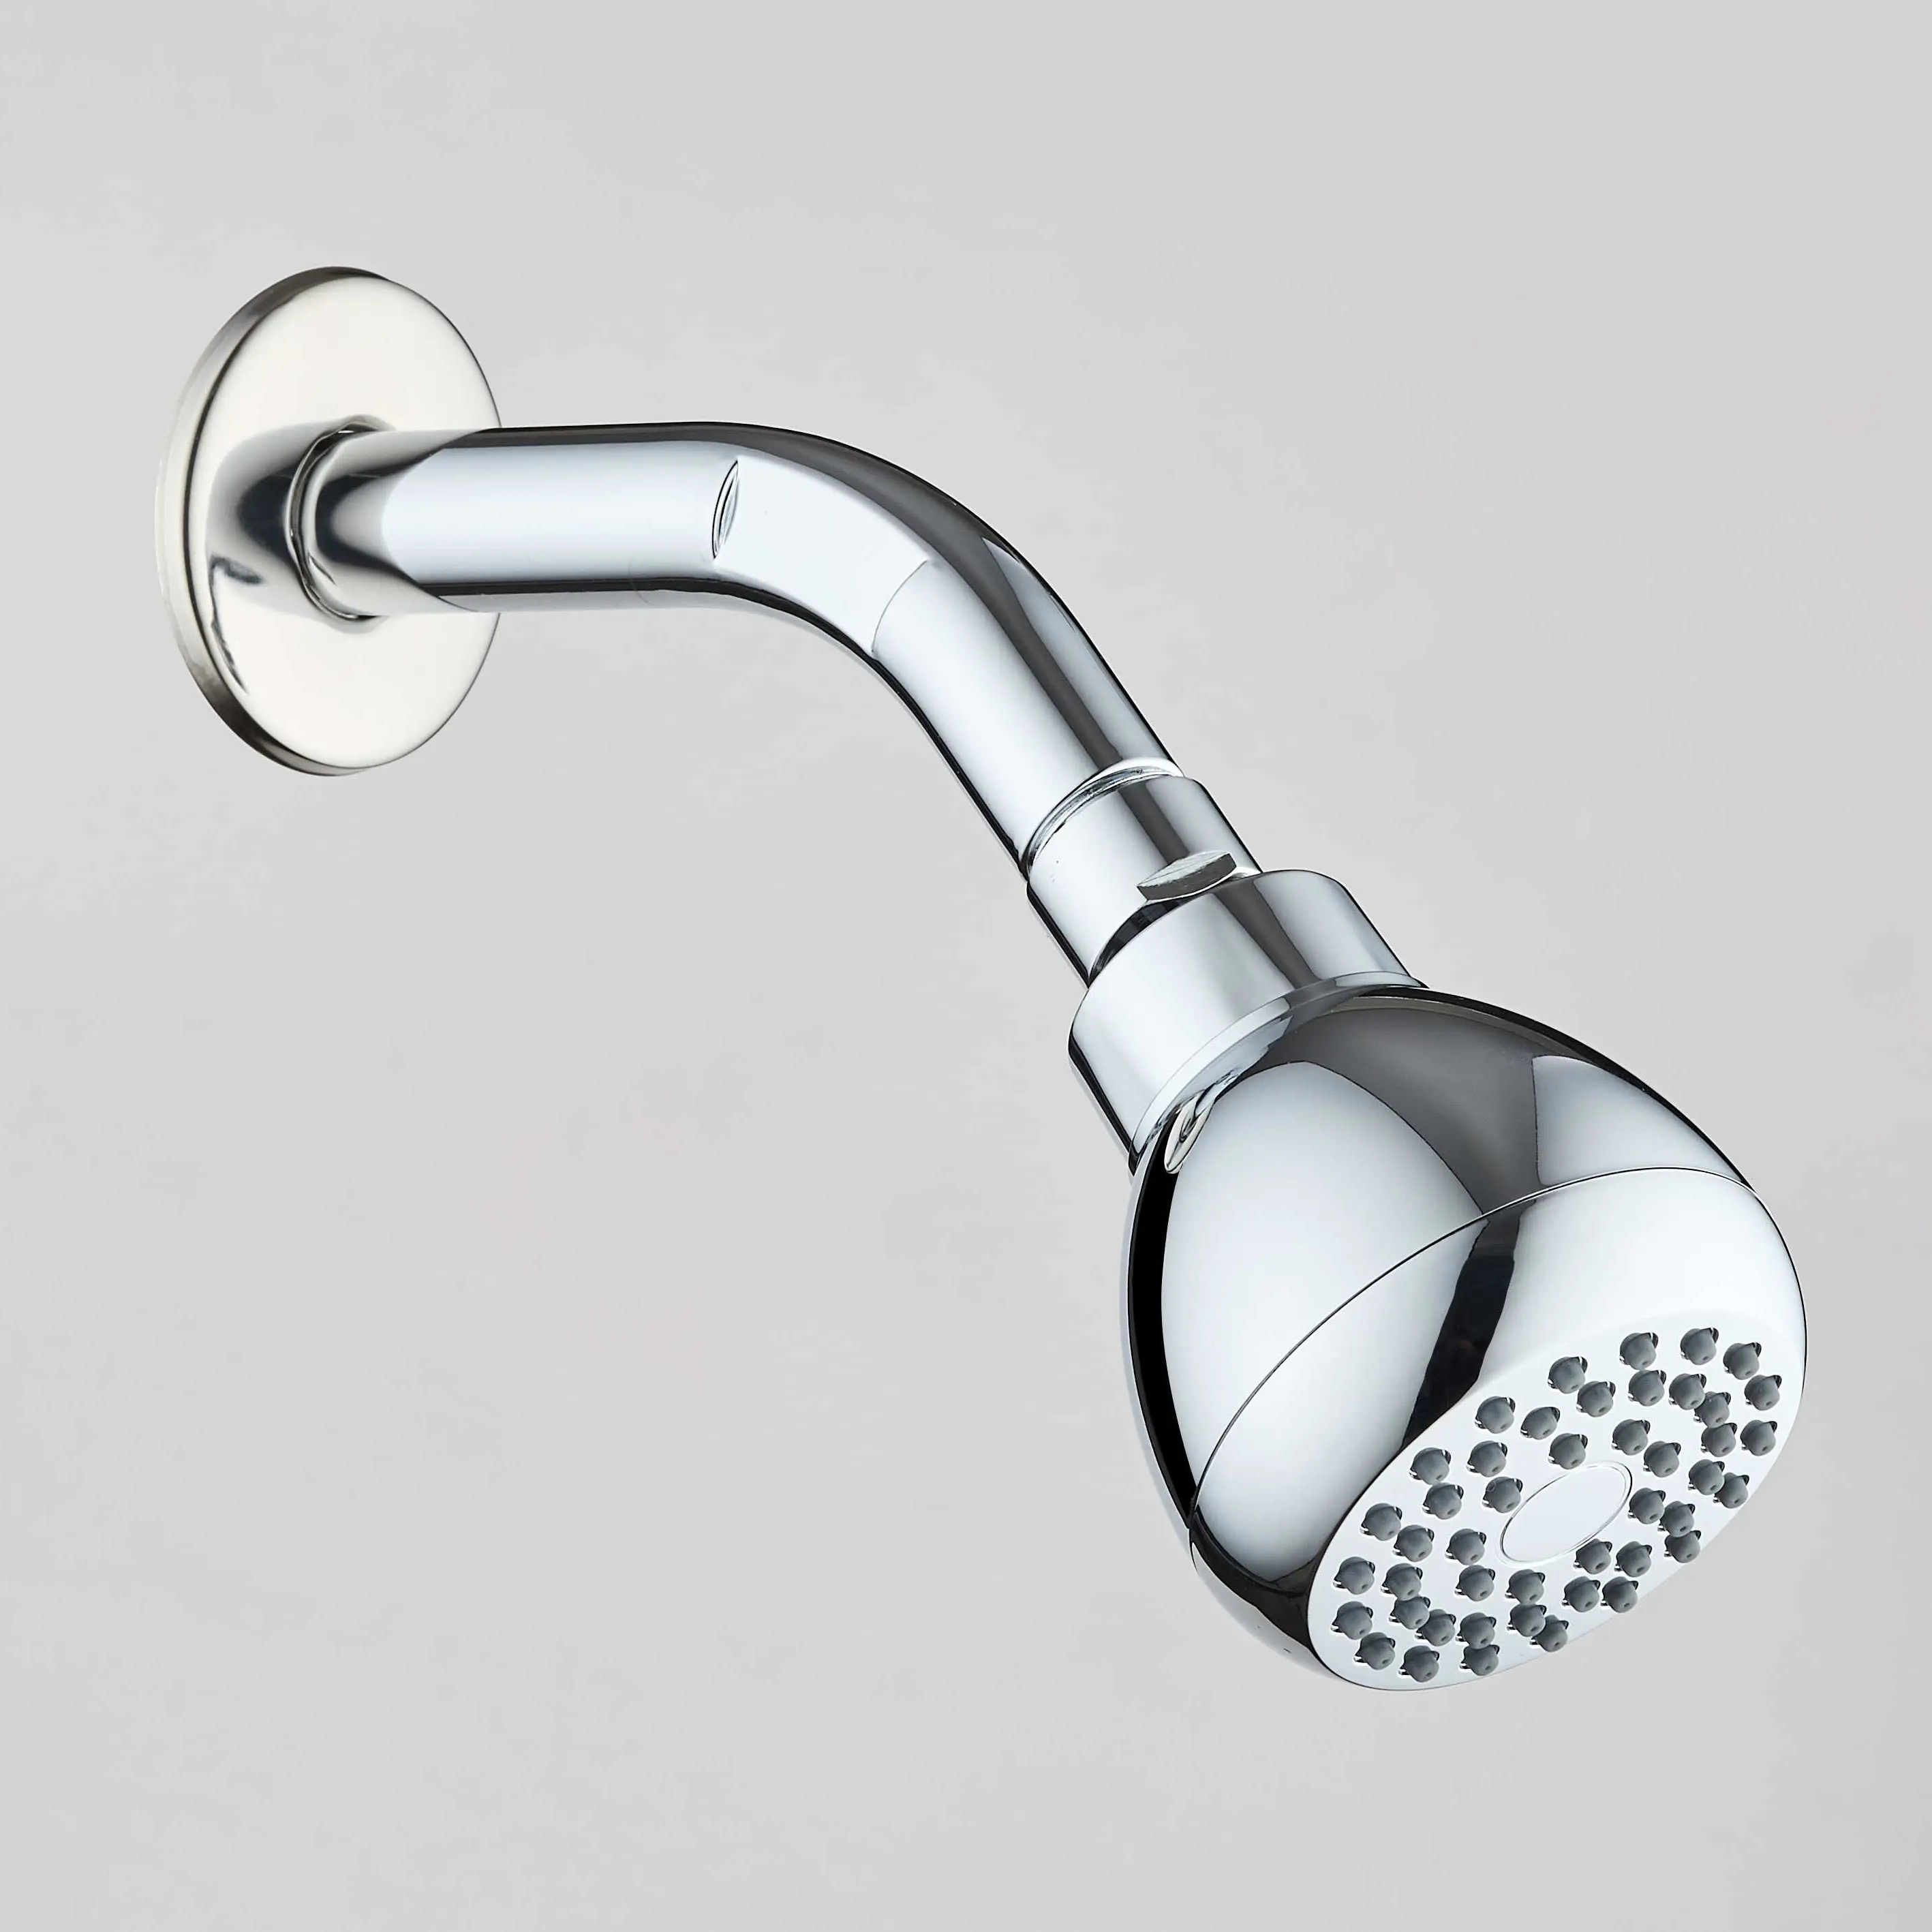
How to Detach Your Shower Head
First, I need to take the shower head off. It's usually pretty simple.
- Grab your tools: I usually need an adjustable wrench or a pair of pliers. I also grab a soft cloth or towel.
- Protect the finish: I wrap the cloth around the base of the shower head where it connects to the shower arm. This protects the finish from scratches when I use my tools.
- Unscrew it: I grip the connection nut firmly with my wrench or pliers. Then, I turn it counter-clockwise. Sometimes it's a bit tight, but it usually loosens up.
- Twist it off: Once it's loose, I can usually unscrew it the rest of the way by hand. Water might drip out, so I keep a small bucket or towel handy.
That's it! My shower head is now ready for a good cleaning.
Soaking Your Shower Head in Vinegar
Soaking is the most important part of cleaning a removable shower head. It really helps break down all that mineral buildup.
- Prepare the vinegar bath: I get a bucket or a deep bowl. Then, I pour in enough distilled white vinegar to completely cover my shower head.
- Submerge the shower head: I place the shower head into the vinegar. I make sure all the nozzles are fully underwater.
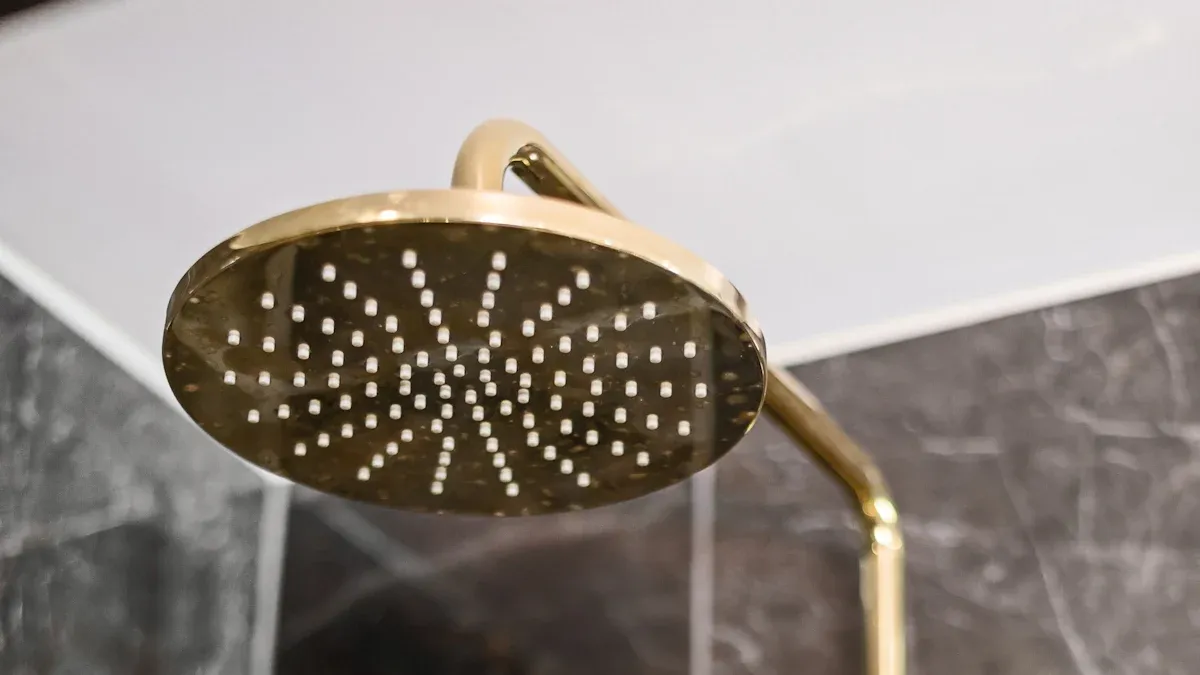
- Let it soak: For optimal mineral buildup removal, I soak my shower head in vinegar for at least 30 minutes, ideally around an hour. However, if my shower head is made of brass, I do not exceed a 30-minute soaking period. I've also heard of people having success with really stubborn buildup by letting the shower head sit in vinegar for a full day. I find that a longer soak really helps loosen everything up.
Tip: If you don't like the smell of vinegar, you can add a few drops of essential oil, like lemon or tea tree, to the soaking solution.
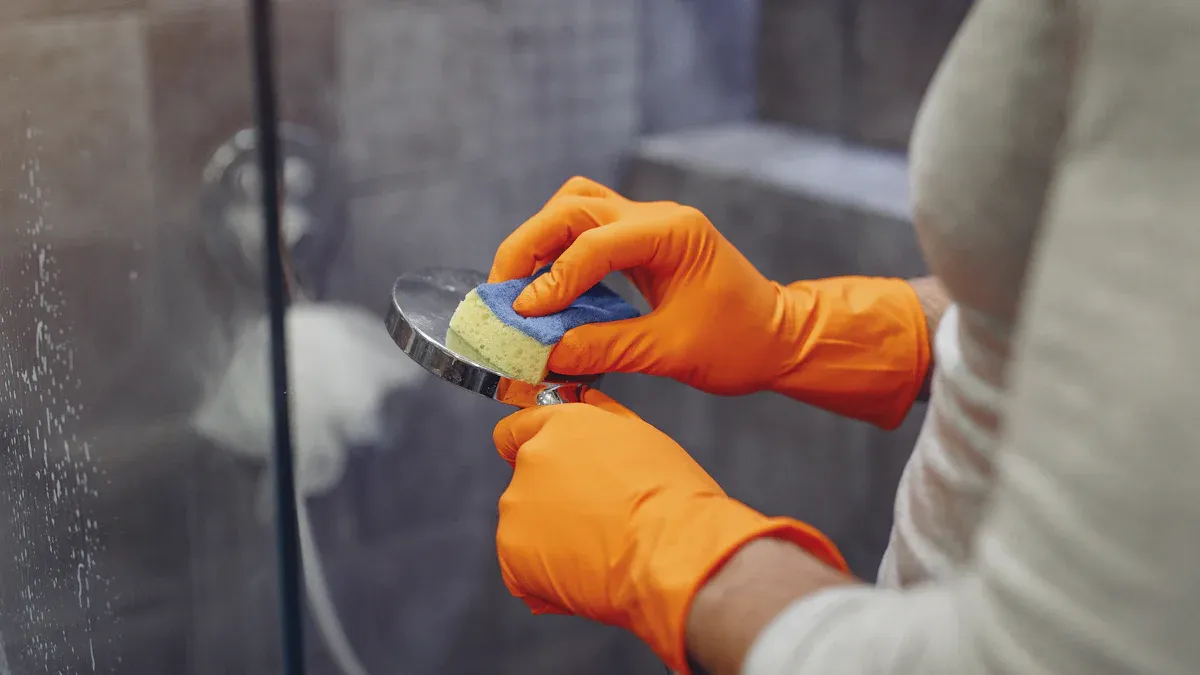
Scrubbing Nozzles and Surfaces
After a good soak, it's time to scrub away the loosened grime. This part is very satisfying!
- Initial rinse: I take the shower head out of the vinegar and give it a quick rinse under warm water. This washes away some of the loose debris.
- Gentle scrubbing: I gently rub the nozzles clean using my fingers or an old toothbrush to dislodge debris and improve water flow. For any remaining debris or stains, I gently scrub with an old toothbrush. I make sure to get into all the little crevices.
- Tackling tough spots: To tackle stubborn stains or marks and clear nozzle holes, I use a toothbrush for scrubbing. Sometimes, I even use a toothpick to poke out any gunk stuck inside individual holes.
- Adding shine: For a sparkling finish, I sometimes combine baking soda with white vinegar. This mixture creates carbonic acid, a natural cleaning agent effective for lifting stains and adding shine to metal showerheads. I make a paste with baking soda and a little vinegar, apply it, let it sit for a few minutes, and then scrub.
I make sure to scrub all the surfaces, not just the nozzles. This includes the face of the shower head and any adjustable parts.
Rinsing and Reattaching Your Shower Head
After all that scrubbing, I'm almost done! The next steps are super important. They make sure your shower head is truly clean and ready to go.
First, I take my shower head to the sink. I rinse it really well under warm, running water. I want to wash away all the vinegar and loosened gunk. I make sure water flows freely from all the nozzles. I might even use my fingers to rub the nozzles one last time. This ensures no residue remains.
Next, I need to flush the shower arm. Before I put the shower head back, I turn on the water for a few seconds. I let it run through the shower arm. This flushes out any debris that might be inside the pipe. I don't want that stuff getting into my clean shower head.
Now, it's time to put it back on. I grab my clean shower head. I carefully screw it back onto the shower arm. I turn it clockwise by hand first. I make sure it's straight and not cross-threaded. Once it's hand-tight, I use my wrench or pliers. I wrap the cloth around the connection again. I tighten it just enough so it's snug. I don't want to overtighten it. That can damage the threads.
Finally, I check for leaks. I turn on the water. I watch for any drips or leaks around the connection. If I see a leak, I tighten it a tiny bit more. Sometimes, I might need a new piece of plumber's tape on the threads. This usually fixes any persistent leaks. Now, my premium adjustable shower head is ready for a refreshing shower!
Tip: Always use a soft cloth when tightening with tools. This protects the finish of your shower head and prevents scratches.
Cleaning a Fixed Premium Adjustable Shower Head
I know not all shower heads come off easily. If you have a fixed premium adjustable shower head, don't worry! You can still get it sparkling clean. I use a clever trick with a bag to clean these. It works just as well as taking it apart.
Preparing a Vinegar Soaking Bag
This method is super simple. It lets the cleaning solution do all the hard work.
- Get your bag ready: I grab a sturdy plastic bag. A Ziploc bag works great because it seals well. A regular grocery bag can also work if it's strong enough and doesn't have holes.
- Fill it with vinegar: I pour enough distilled white vinegar into the bag to cover the shower head completely. Remember, I use distilled white vinegar with 5% acetic acid. This is the best for dissolving mineral buildup.
- Add a little extra power (optional): Sometimes, if I know the buildup is really bad, I add a tablespoon of baking soda to the vinegar in the bag. It creates a fizzing action that helps loosen things up even more.
Tip: Make sure the bag is clean before you use it. You don't want to add more dirt to your shower head!
Securing the Soaking Bag
Now, I need to get that bag onto the shower head. This step is important to make sure the vinegar stays where it needs to be.
- Position the bag: I carefully lift the bag of vinegar and place it over the shower head. I make sure the entire face of the shower head, especially all the nozzles, is fully submerged in the vinegar.
- Secure it tightly: Once the shower head is inside the bag and covered by the vinegar, I use a rubber band or a twist tie. I wrap it tightly around the neck of the shower head, right where it connects to the shower arm. This holds the bag in place and prevents the vinegar from leaking out. I sometimes use two rubber bands for extra security.
- Let it soak: I let the shower head soak for at least 30 minutes. If the buildup is really stubborn, I might leave it for a few hours, or even overnight. The longer it soaks, the more the vinegar can break down those tough mineral deposits.
Post-Soak Scrubbing and Rinsing
After the soaking, it's time to finish the job. This part is quick and easy.
- Remove the bag: I carefully unwrap the rubber band or twist tie. Then, I slowly remove the bag. I try to keep the vinegar from splashing. I usually have a small bucket ready to catch the used vinegar.
- Scrub the nozzles: I grab my old toothbrush. I gently scrub the nozzles and the face of the shower head. I can usually see the loosened mineral deposits. They come off easily with a little scrubbing. If any holes are still blocked, I use a toothpick to poke them clear.
- Rinse thoroughly: I turn on the hot water. I let it run through the shower head for several minutes. This rinses away any remaining vinegar and loosened gunk. I make sure the water flows freely from all the nozzles.
- Flush the system: While the water is running, I adjust the spray settings on my premium adjustable shower head. This helps flush out any debris that might have gotten inside the shower head during the cleaning process. It also ensures all the internal mechanisms are clear.
Now, my Fixed Shower Head is clean and ready to give me a great shower again!
Flushing the Shower Head System
After all that soaking and scrubbing, I'm almost done! The last step is super important. I need to flush the shower head system. This makes sure all the loosened gunk and cleaning solution are completely gone. I want my shower to be fresh and clean, not full of leftover vinegar.
Here is how I flush the system:
- Remove the bag: First, I carefully take off the plastic bag. I make sure to do this slowly so the used vinegar doesn't splash everywhere. I usually have a small bucket ready to catch the liquid.
- Rinse the shower head with warm water: Next, I let warm water run over the shower head. I rinse it really well. This washes away any cleaning solution that might still be on the outside. It also gets rid of any bits of mineral deposits that are still clinging on. I might even rub the nozzles with my fingers under the running water. This helps ensure everything is clean.
- Run the shower for a few minutes: Then, I turn on the shower. I let the water run for a few minutes. This is crucial. It pushes out any remaining debris or cleaning solution from inside the shower head and the pipes. I watch the water coming out. I want to see a strong, even spray from all the nozzles. If I see any sputtering or weak streams, I know there might still be some blockage. I might even switch through the different spray settings on my premium adjustable shower head. This helps flush out all the internal channels. It ensures every part of the system is clear and working perfectly.
This final flush guarantees my shower head is completely clean. It's ready to give me a refreshing and powerful shower again.
Tackling Stubborn Buildup on Your Premium Adjustable Shower Head
Sometimes, even after a good soak, I find a few stubborn spots on my shower head. Don't worry! I have some tricks for those really tough areas. These methods help me get my premium adjustable shower head looking brand new.
Using a Toothbrush for Nozzle Cleaning
I always keep an old toothbrush handy for cleaning. It's perfect for getting into those tiny nozzles. After soaking, I take the toothbrush and gently scrub each nozzle. I make sure to get all around the edges. The bristles are small enough to dislodge any remaining mineral bits. I find this works wonders for clearing out those little holes. It helps the water spray out evenly again.
Applying a Baking Soda Paste
For really caked-on grime, I make a baking soda paste. I mix a little baking soda with just enough water to form a thick paste. Sometimes, I even use a few drops of vinegar for extra fizzing power. I apply this paste directly to the stubborn spots. I let it sit for about 15-20 minutes. Baking soda is a gentle abrasive. It helps lift and break down the buildup without scratching the finish. After it sits, I scrub it off with my toothbrush.
Gentle Scraping Techniques for Tough Spots
If I still see a hard, crusty spot, I use a gentle scraping technique. I never use anything metal. That can scratch the finish. Instead, I grab a wooden toothpick or a plastic scraper. I carefully chip away at the buildup. I use light pressure. My goal is to remove the mineral deposit, not to damage the shower head. This method is great for those tiny, hard-to-reach areas where the toothbrush can't quite get.
Maintaining Your Premium Adjustable Shower Head
I want my shower to always feel amazing. That means keeping my premium adjustable shower head in top shape. Regular care makes a big difference. It keeps the water flowing strong and clean.
Recommended Cleaning Frequency
I like to keep my shower head clean. If you live in an area with hard water, I have a schedule I follow. I do a quick clean every week. I soak the shower head in vinegar for about an hour. This clears out small mineral bits and keeps it fresh. Then, once a month, if I notice less water pressure, I do a deeper clean. I take the shower head off and let it soak in vinegar overnight. Then I scrub it with a toothbrush to get rid of stubborn clogs.
Quick Daily Maintenance Tips
I have a few simple things I do every day. These quick steps help keep my shower head clean between deeper cleans. After my shower, I quickly wipe the nozzles. I use my hand or a soft cloth. This removes any water spots or soap scum before they dry. Sometimes, I even run my finger over the rubber nozzles. This helps dislodge any tiny mineral bits. It only takes a few seconds. This small effort really helps.
Preventing Future Buildup
I've learned that preventing buildup is even better than cleaning it. I look for special filters. Multi-stage filters are great for removing lots of impurities. KDF filters help with heavy metals. Calcium sulfite filters are super good at getting rid of calcium and magnesium. These cause hard water. Carbon filters are good for chlorine, but not for minerals. Vitamin C filters are only for chlorine.
Some shower heads even come with these filters built-in. For example, the Cobbe DS Filter Shower Head has a 20-stage filter. The Jolie Filtered Shower Head and Weddell Duo Filtered Showerhead also have great filters. They clean the water before it even reaches the nozzles. This really cuts down on future cleaning work for me.
When to Replace Your Premium Adjustable Shower Head
I work hard to keep my shower head clean. I know you do too! But sometimes, even with the best cleaning, it's just time for a new one. I've learned to spot the signs when my premium adjustable shower head needs to go.
Signs of Irreparable Damage
I've seen my share of shower heads that are beyond saving. If I notice recurring leaks, even after I try to fix them, that's a big sign. A small drip might be a washer, but if it keeps leaking, I know it's time for a replacement. I also pay attention to water pressure changes. If the water pressure keeps getting weaker or feels inconsistent, it tells me the shower head is worn out. It just can't control the water flow like it used to. I also look for sediment accumulation. If I see white, rocky material or other buildup that cleaning just won't remove, it means the internal parts are clogged. Sometimes, I even spot small black dots. That's black mold, and it's toxic. Replacing the shower head is usually a better idea than trying to clean that.
Persistent Low Water Pressure Issues
I've cleaned my shower head many times, but sometimes the water pressure stays low. If cleaning doesn't help, I start looking at other things. I know minerals can build up inside the pipes themselves, especially in older homes. This makes the pipes narrower and restricts water flow. If other faucets in my house also have low hot water pressure, I suspect pipe buildup. Sometimes, if only the hot water pressure is low in the shower, I think about the mixing valve. It might be faulty or clogged. I also check if a shutoff valve was left partially closed somewhere. A faulty pressure regulator can cause low water pressure throughout my whole house. If I notice low hot water pressure everywhere, not just the shower, sediment might be building up in my water heater. In very old homes, corroded pipes can also cause rust buildup and really reduce water flow.
Health Concerns and Mold Growth
I always think about hygiene in my shower. If I see mold growing in my shower head, it's a big concern. Mold can cause mild symptoms like sneezing, coughing, skin irritation, or red and watery eyes. I might also get a runny nose. For people with allergies or breathing problems, it can be more serious. I've heard of it causing asthma attacks, persistent coughing, shortness of breath, or sinus infections. Sometimes, it can even lead to chronic fatigue. In very rare cases, toxins from mold can cause serious long-term problems. I don't want to risk my health, so if mold becomes a persistent problem, I replace the shower head.
Upgrading for Better Performance
I work hard to keep my shower head clean. I know you do too! But sometimes, even with the best cleaning, it's just time for a new one. I've learned to spot the signs when my premium adjustable shower head needs to go.
Sometimes, even after all my cleaning efforts, I realize my old shower head just isn't cutting it anymore. That's when I start thinking about upgrading. I find that a new shower head can really improve my daily routine. It can make my shower much better. Upgrading can significantly improve both efficiency and performance with minimal effort. It can also help save money and reduce water use.
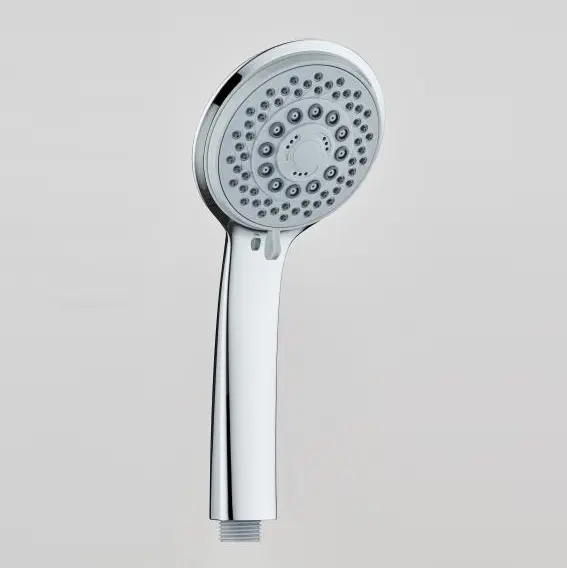
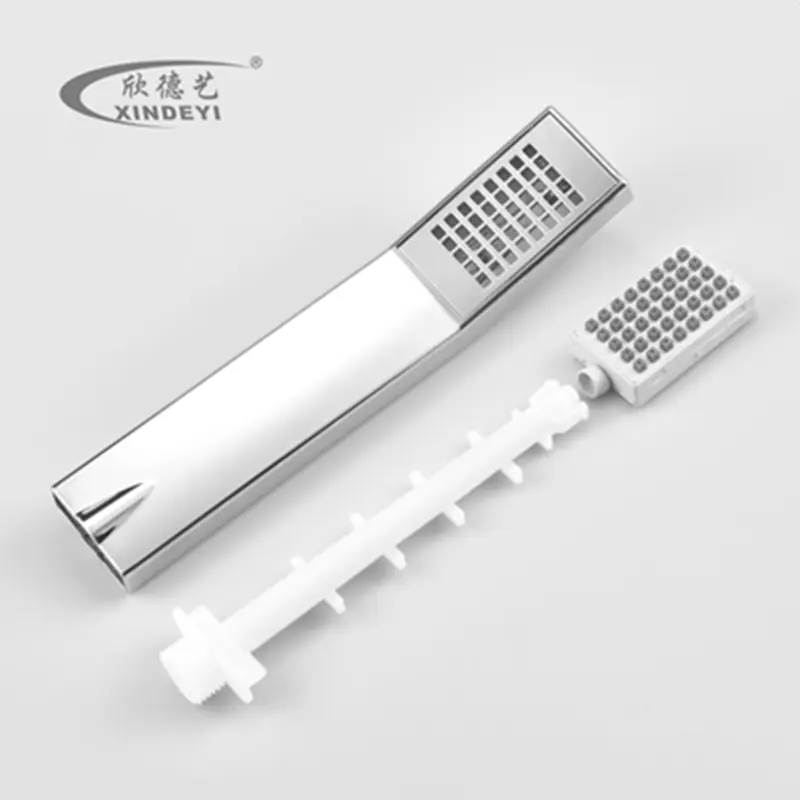
I love how new shower heads offer so many options. For example, a handheld showerhead offers great versatility. I can use it for tasks like cleaning the shower or bathing my pets. It also helps if I need to assist someone with limited mobility. It minimizes movement, reducing the chance of slipping or losing balance. This is great for older adults. It also makes caregiving easier. I can reach areas without lifting or leaning. A handheld showerhead also provides more control over water flow and direction. This leads to a more private and comfortable bathing experience. I can even enjoy comfortable seated bathing when I pair it with a shower bench or chair. This is perfect for individuals with limited strength or balance issues.
New shower heads also save water and energy. Modern low-flow shower heads use much less water. They use about 1.5 to 2 gallons per minute (gpm). Older models can use 2.5 to 5 gpm. This means lower water bills for me. Using less hot water also means my water heater works less. This saves energy and lowers my utility bills. Less water and strain on my plumbing can even lead to fewer repairs. It can also make my water heater last longer.
I also see many cool new types of shower heads. Dual showerheads combine fixed and handheld options. Filtered showerheads improve water quality. This gives me softer hair and healthier skin. Some even have Bluetooth! I can listen to music or podcasts while I shower. Upgrading is a smart choice for a better shower experience.
I hope you see now that cleaning your premium adjustable shower head is super important. It keeps it working great and lasting a long time. I always make sure to use the right cleaning stuff, whether it's natural vinegar or a stronger solution. Taking care of it this way means I always get a consistent, enjoyable, and clean shower. It's worth the effort!
FAQ
How often should I clean my premium adjustable shower head?
I clean my shower head weekly with a quick wipe. I do a deeper vinegar soak monthly. This is especially true if I notice less water pressure. This keeps it working great.
Can I use bleach to clean my shower head?
I do not recommend bleach. It can damage the finish of your premium adjustable shower head. It can also be harmful to breathe. I always use vinegar or a specialized descaling solution instead.
What if my shower head is still clogged after cleaning?
If it's still clogged, I try a longer soak in vinegar. I might also use a toothpick to clear individual nozzles. If that doesn't work, the problem could be in your pipes.
Is vinegar safe for all shower head finishes?
Vinegar is generally safe. However, I am careful with brass finishes. I limit soaking time to 30 minutes for brass. Always test a small, hidden area first if you are unsure.